How to Make Pour Over Coffee
A Beginners Guide to Making Pour Over Coffee at Home
In recent years, manual pour over coffee has become a very popular brewing method in the world of craft coffee. This popularity comes, not only from the ability to produce a better cup of coffee than most automatic drip coffee makers, but also from the increased connection that it brings to a cup of coffee. If you are wanting to take your mug of coffee up a notch, manual pour over coffee is a great way to start.
Pour over coffee is known for its ability to produce a clean, crisp mug that highlights the distinctive tones in a specific origin and roast of coffee bean. This method of brewing involves many factors that can affect the end result (at least for experienced coffee tasters), making it a fun brewing method to experiment with.
There are many different types of pour over brewers and different “recipes” for making pour over coffee. For this brew guide we used the popular Hario V60 Ceramic dripper with one of our favorite and sure-fire pour over coffee recipes.
What You Need
- Coffee
- Coffee Grinder
- Single Cup Pour Over Coffee Dripper
- Paper Filter
- Water Kettle
- Scale
- Water Thermometer
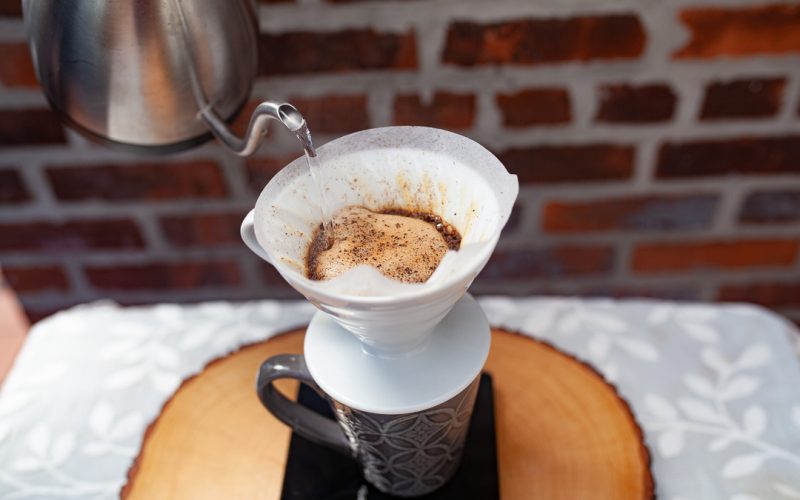
Coffee to Water Ratio for Pour Over Coffee
A 1:15 coffee to water ratio is ideal for most pour over coffee. Here are some quick references for coffee to water ratio:
2.5 tbsp coffee per 8 oz of water
15 grams coffee to 225 grams of water
½ oz coffee for every 8 oz of water
Step 1 – Heat Water to 200° F
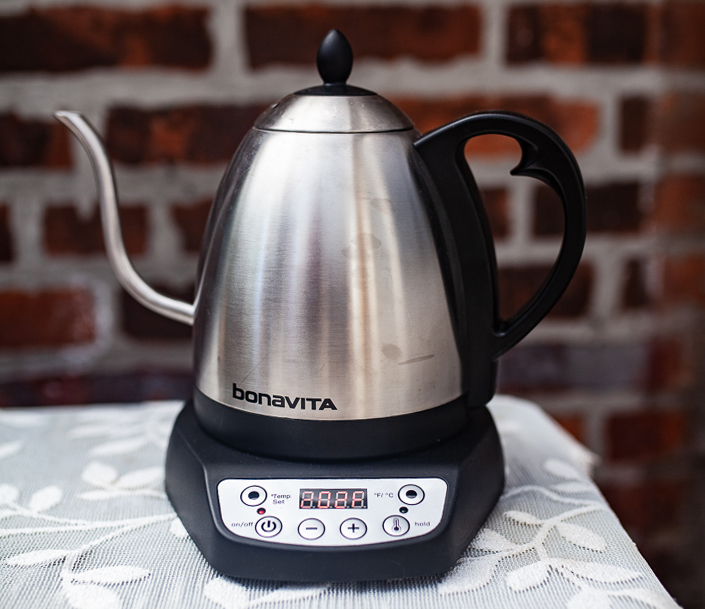
Fill a water kettle with enough water to make your pour over and to pre-rinse your filter. For pour over brewing, the optimal temperature is between 198° – 203° Fahrenheit.
Step 2 – Pre-Rinse Filter
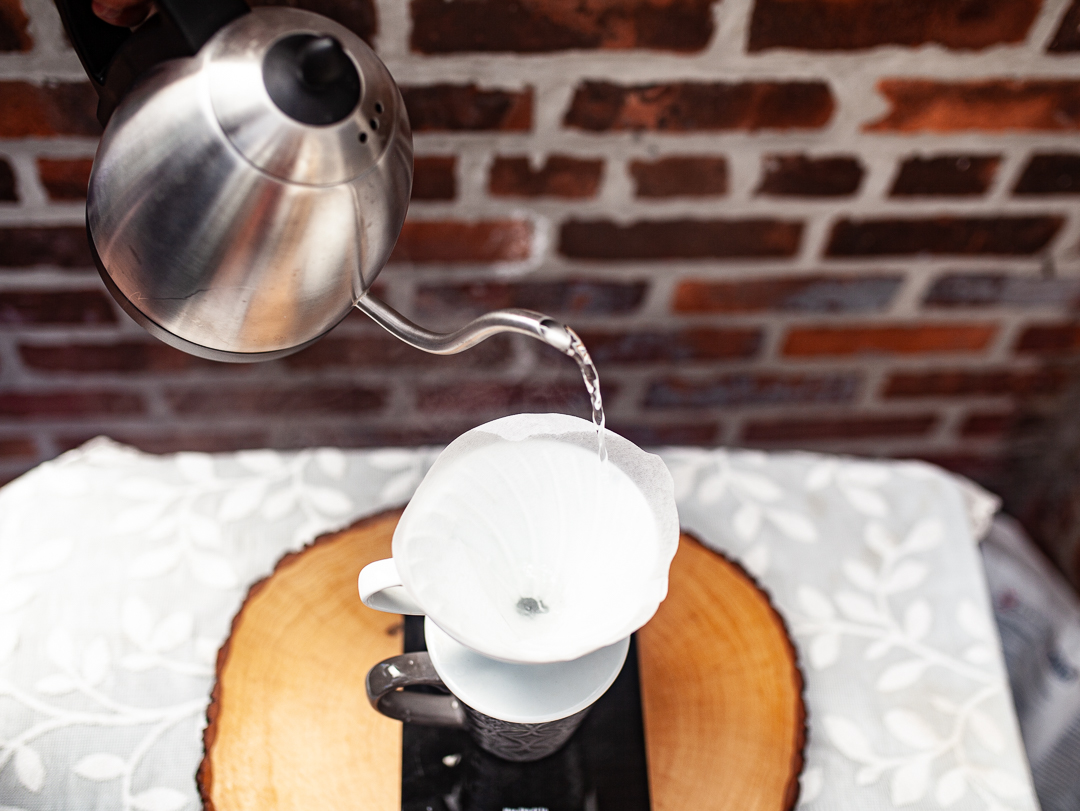
After your water is heated, place the filter into the pour over dripper, set it on your mug, and rinse it well with the hot water. This is important to wash out any potential paper taste from the filter. As a bonus, it preheats your dripper and your mug.
Step 3 – Prepare Grounds
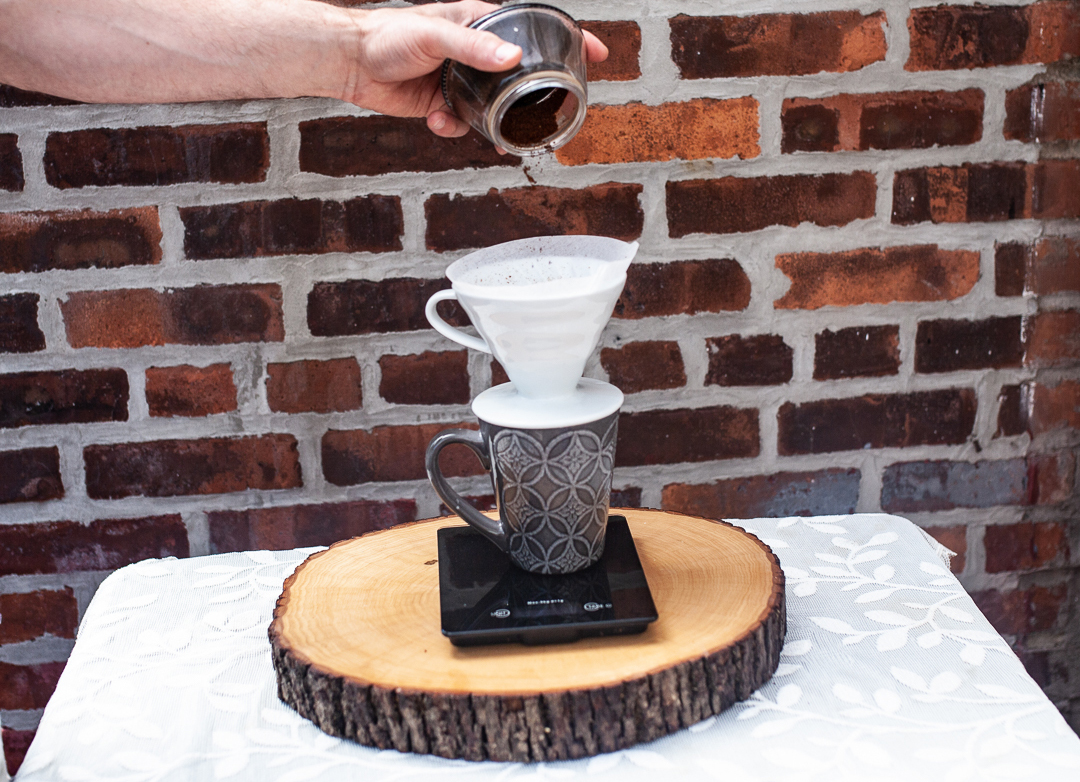
If you are using whole bean coffee, you can grind your coffee while the water is heating. Coffee for pour over should be a medium grind, similar to the coarseness of sea salt. After your filter is rinsed add your grounds to the filter, using the ratios mentioned above.
Step 4 – Pour 1
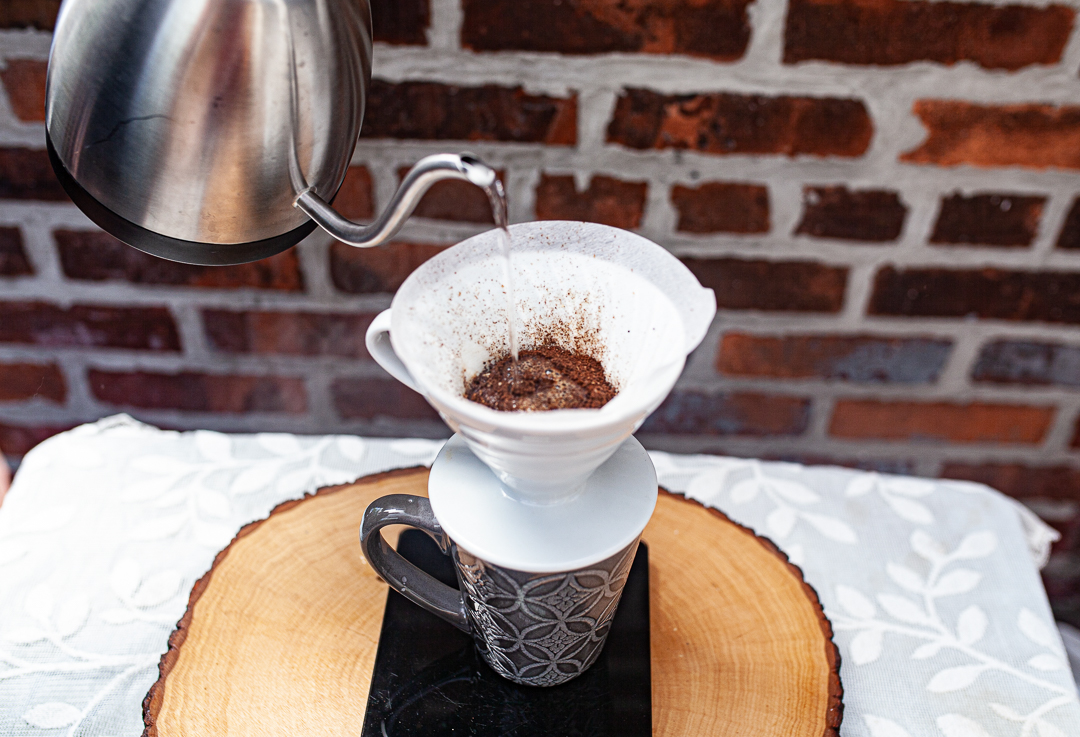
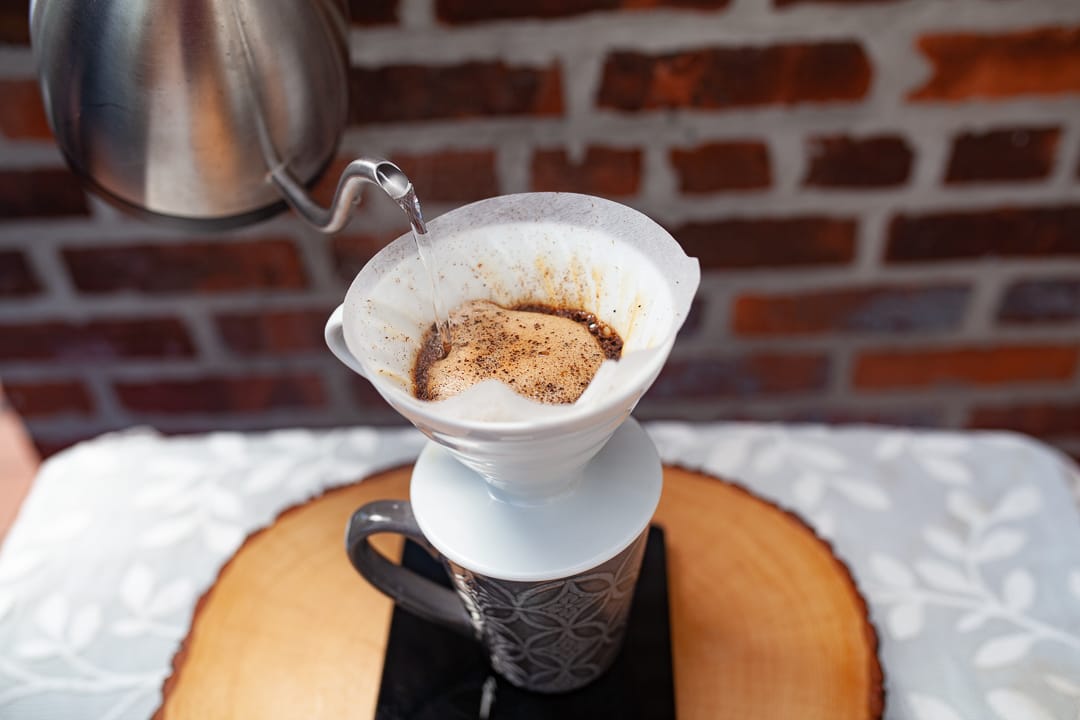
Slowly start pouring your water over the grounds. Start at the center and move in a circular motion from inside to outside, ensuring all the grounds are wetted. Aim for 50-60 grams (2 ounces) of water on this first pour. The goal of the first pour is to soak all the grounds without using too much water. The less water you use on the initial wetting the less acidic your coffee will be.
Step 5 – Pour 2

Wait until the water from pour 1 has filtered through, then begin pour #2. Again, start from the middle and use an inside to outside circular motion to cover the grounds entirely. This pour should also be around 50-60 grams of water. If your coffee is fresh, you should notice the coffee “blooming” during this pour. This comes from carbon dioxide escaping the grounds, creating a bubbling mound.
Step 6 – Pours 3 & 4
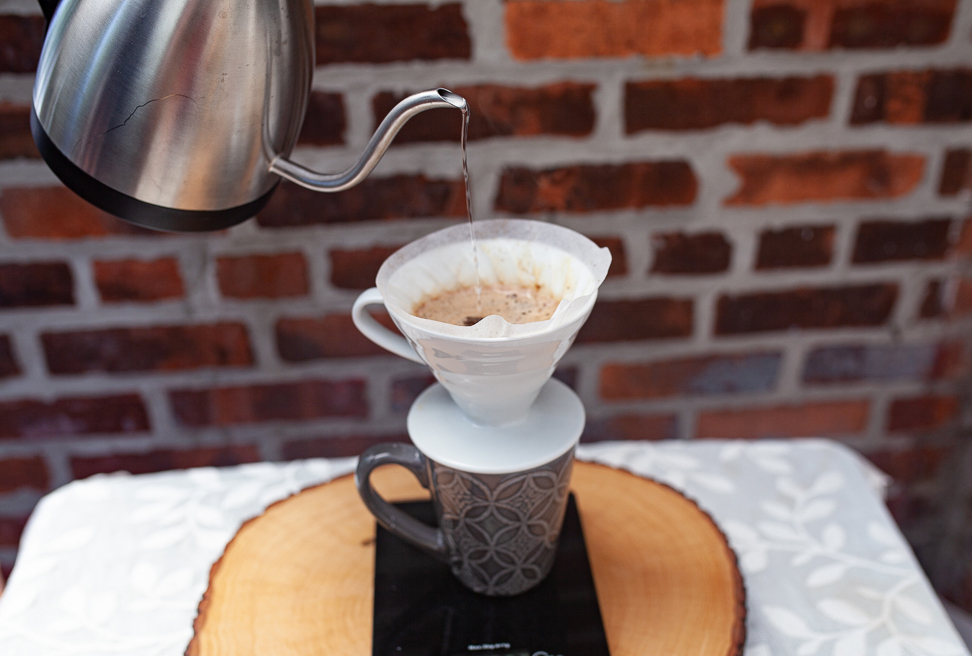
After the water has mostly filtered through from pour 2, add 75 grams of water using the same pouring technique as the previous steps. Allow this to filter through and then finish the pour by adding the remaining water evenly over the grounds.
Step 7 – the Satisfying End
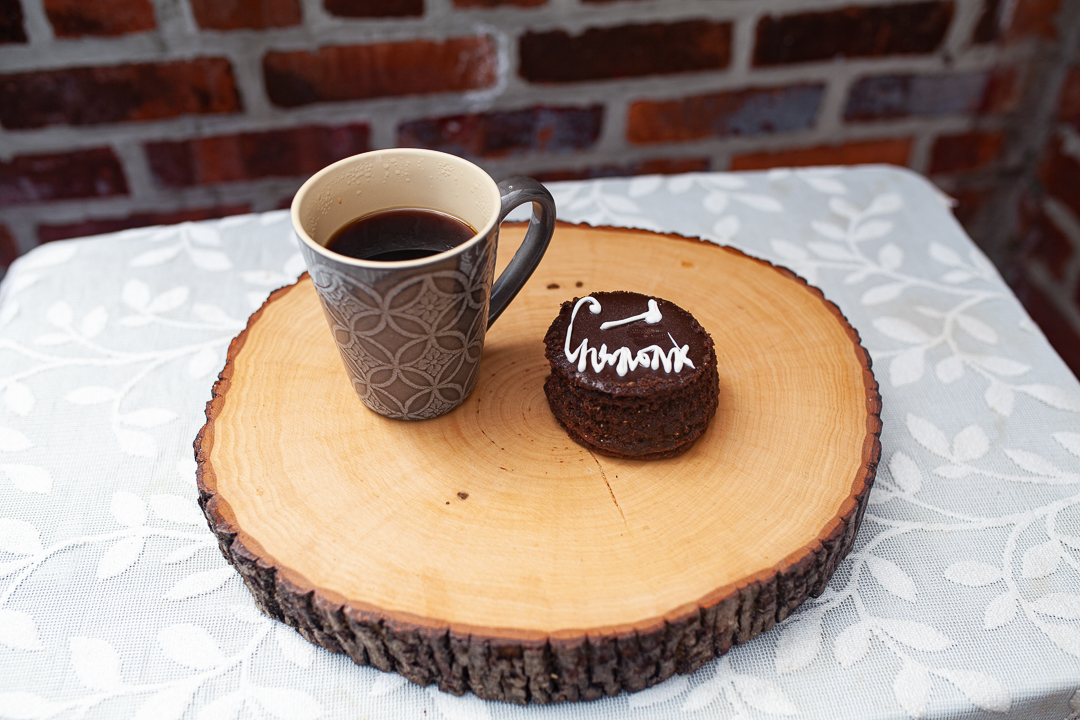
After the water has mostly filtered through from pour 2, add 75 grams of water using the same pouring technique as the previous steps. Allow this to filter through and then finish the pour by adding the remaining water evenly over the grounds.
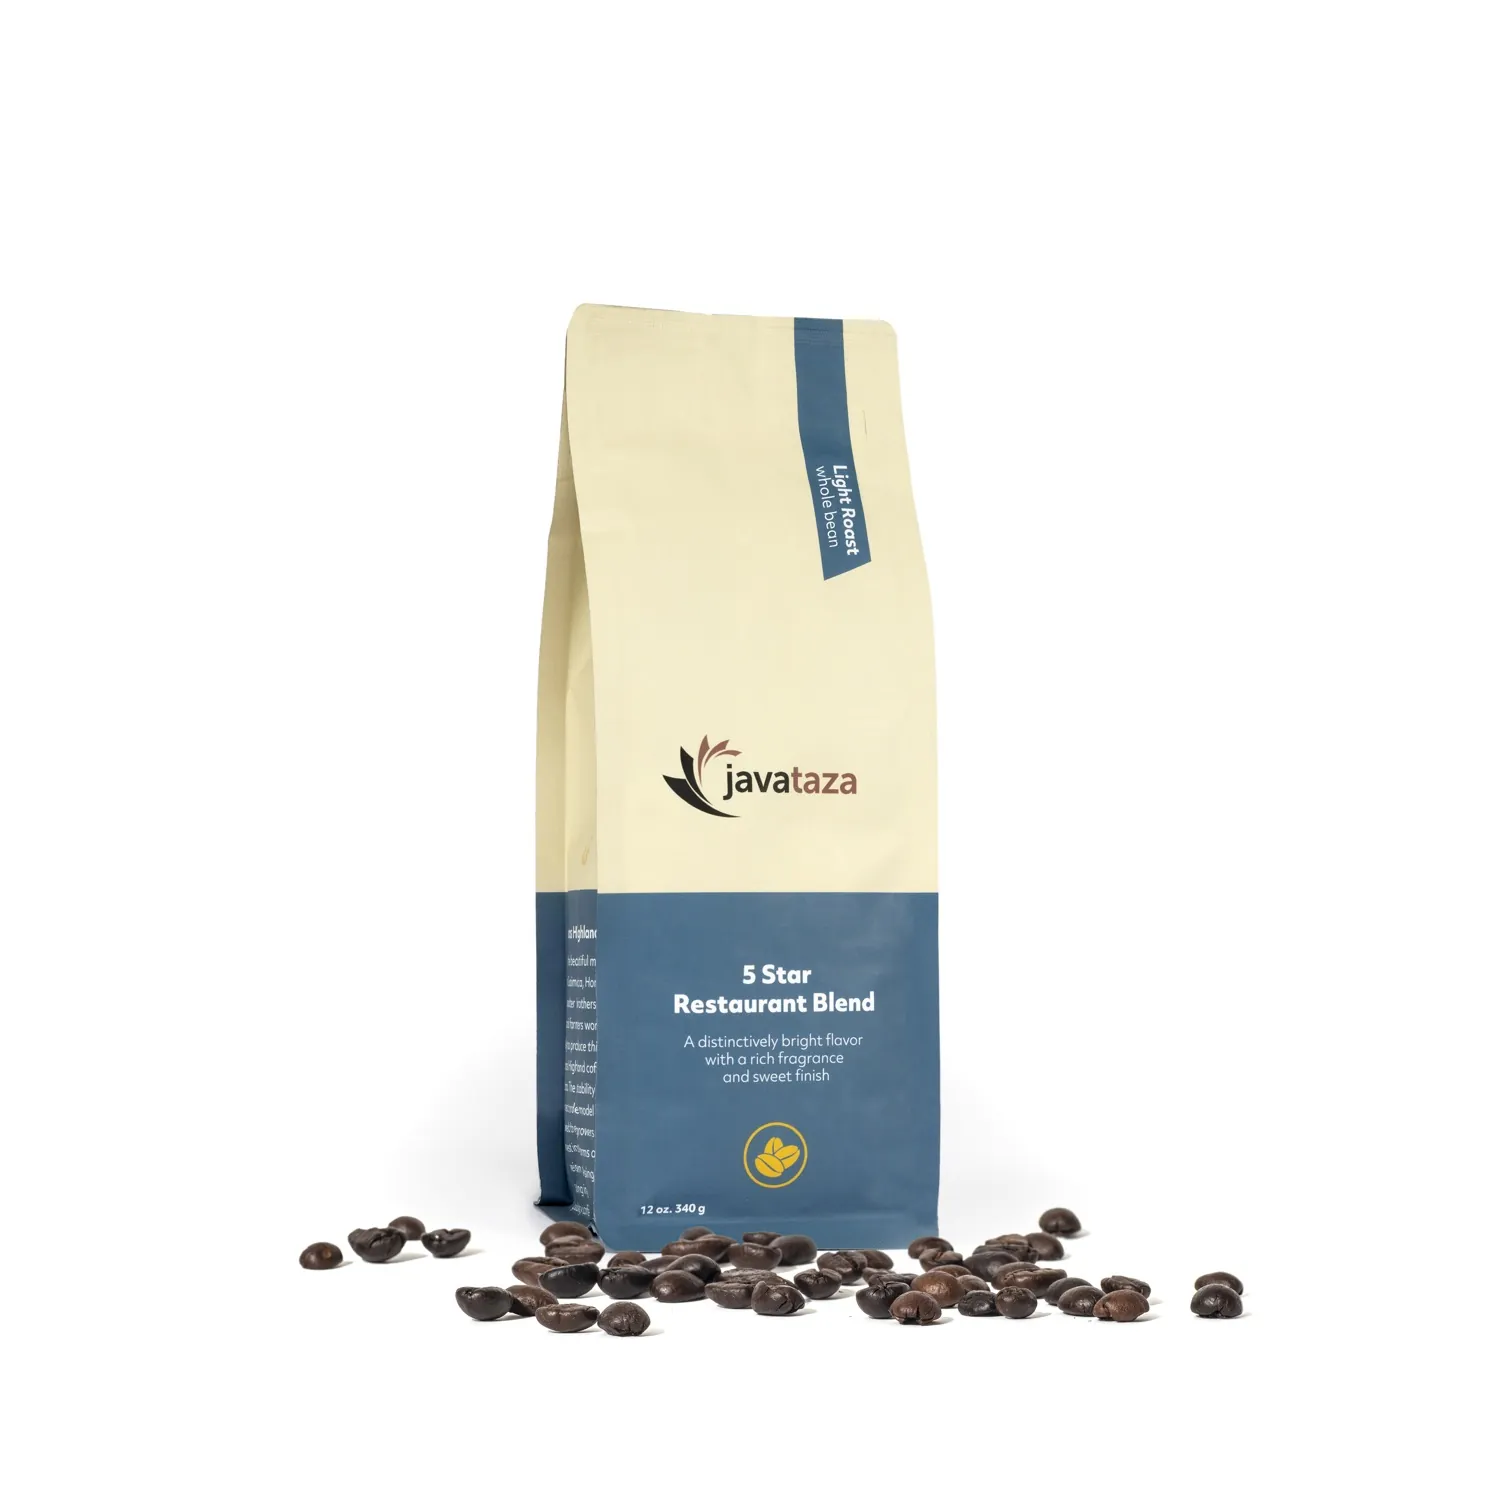
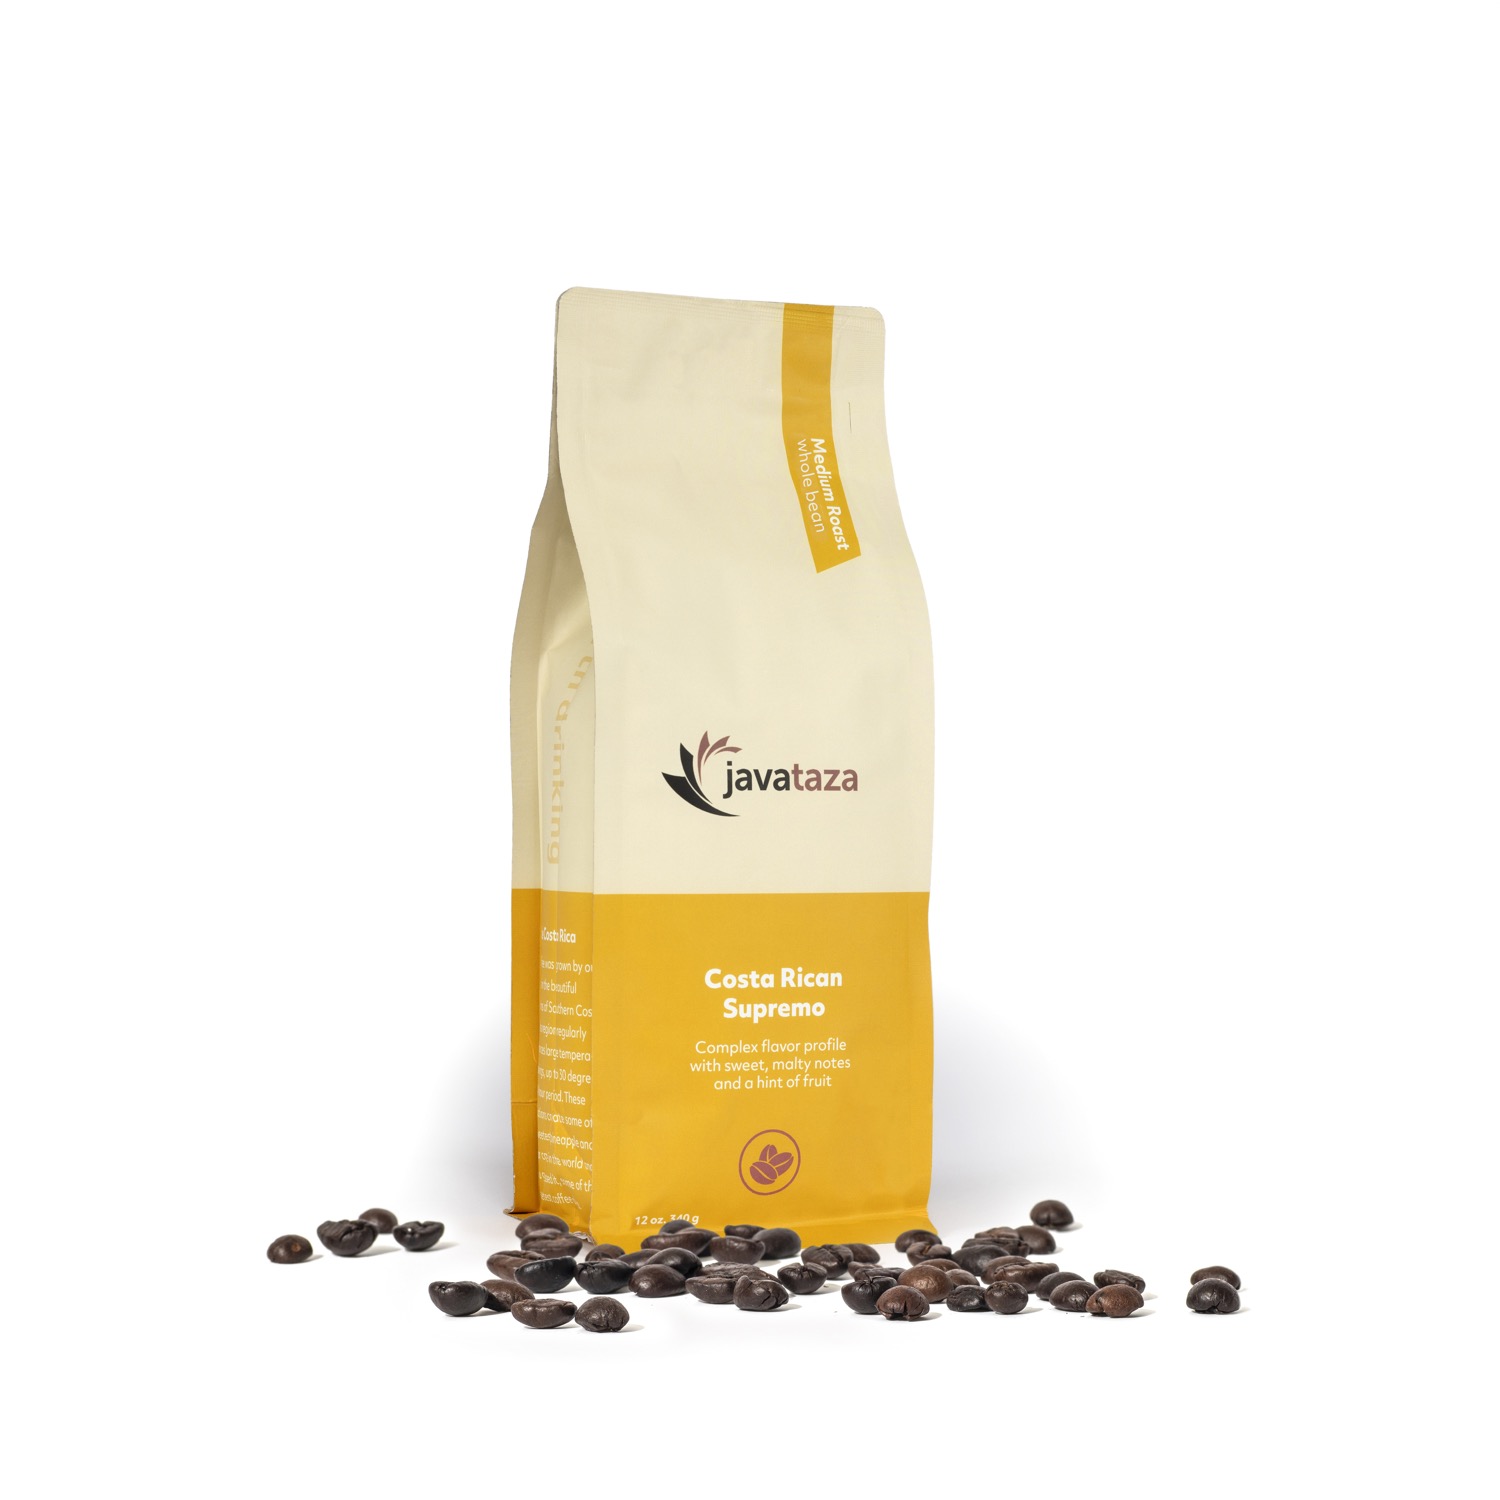
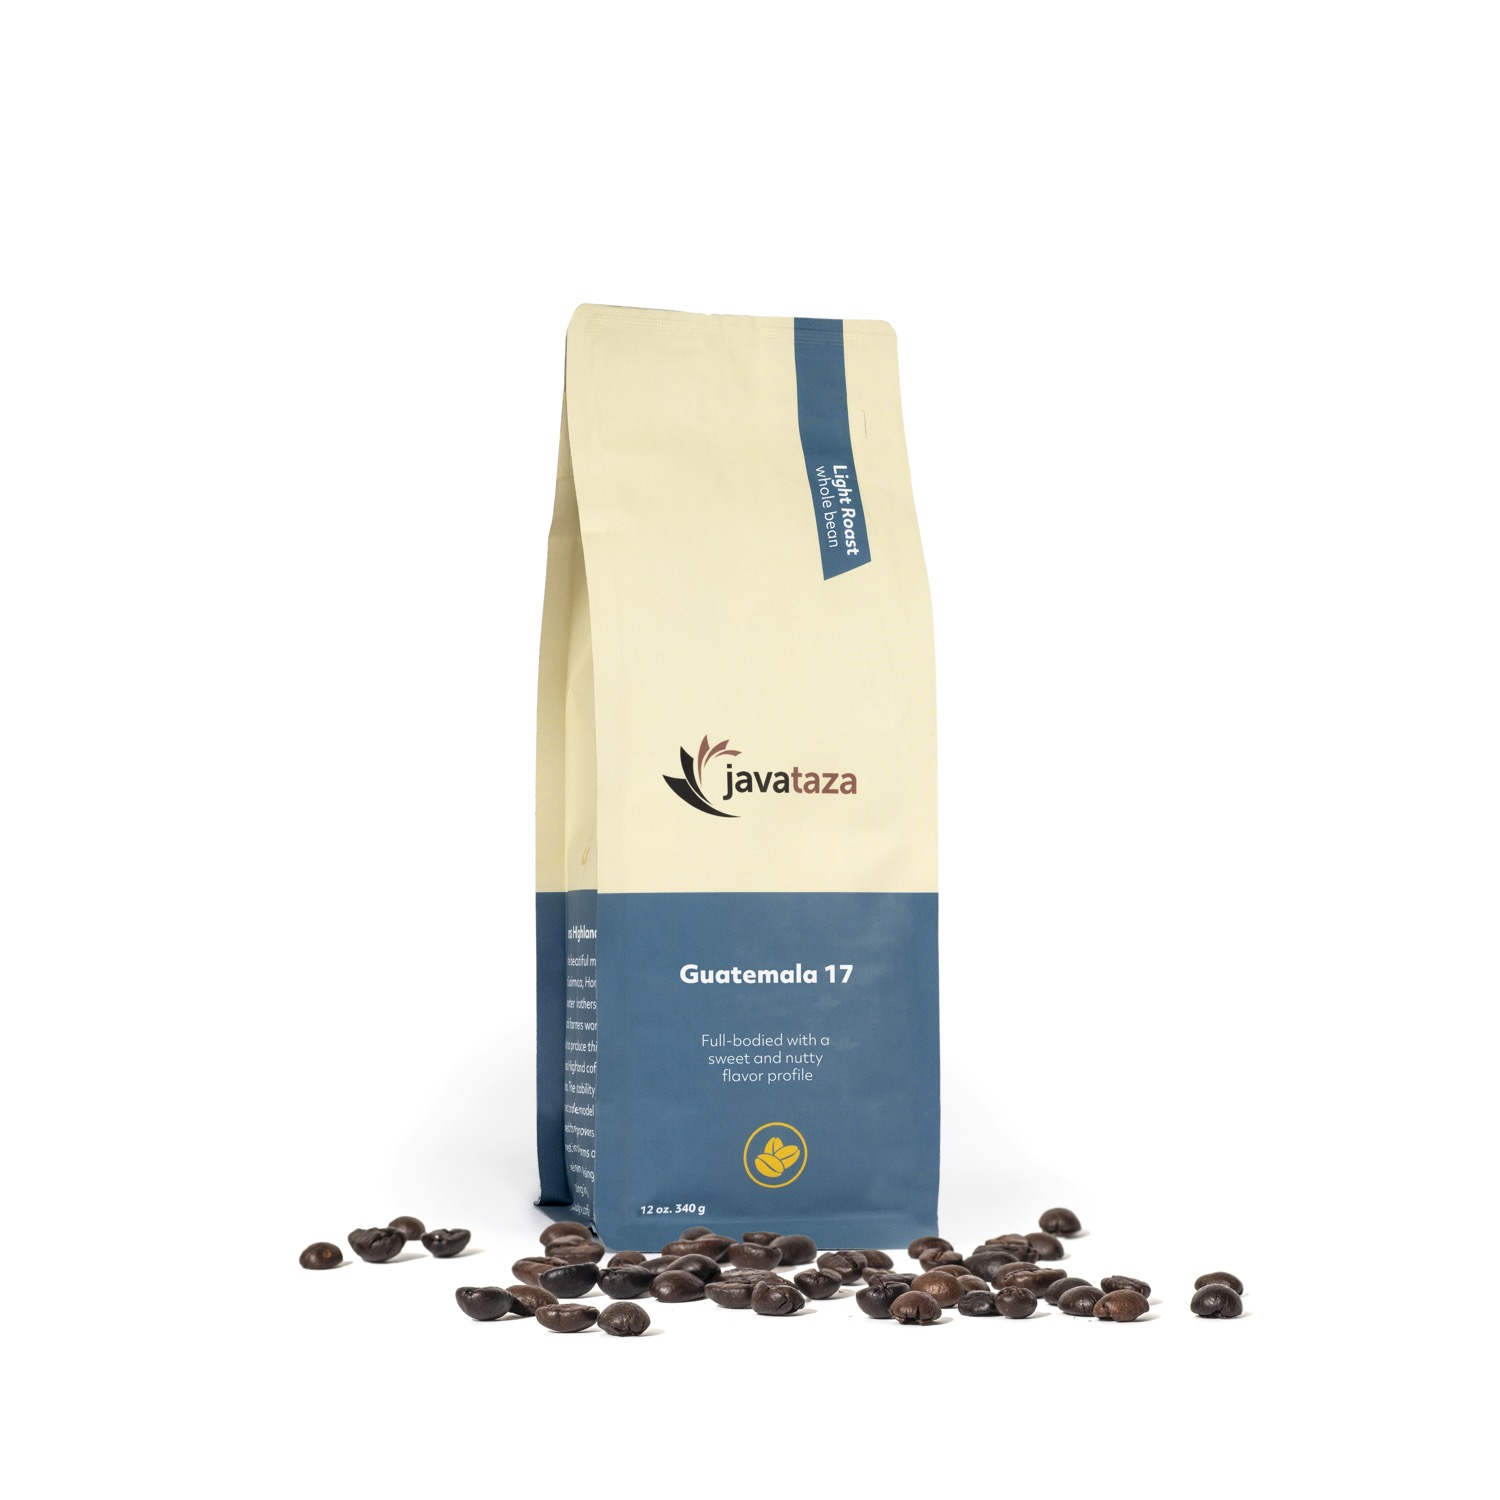
We Recommend These Coffees for Pour Over Coffee
Subscribe
Get added to our email list to receive Javataza updates!

©2024 Javataza Coffee LLC | Privacy Policy
